
Guide · Standalone playback
How to run a lighting show without the console.
Use the console to create the show, record its Art-Net output and move repeatable playback to a dedicated Raspberry Pi that stays with the installation.
Separate programming from repeatable playback
A console is the right tool for creating looks, timing cues and commissioning fixtures. A permanent or recurring installation has a different requirement: replay the approved output consistently with a smaller system that can stay on site.
CUE/IO records Art-Net, which transports DMX lighting data over Ethernet. The Raspberry Pi then sends the recorded data back to the Art-Net nodes during playback. Optional synchronized audio can be stored with the show.
Move the show from console to Raspberry Pi
- Finish and document console programming.Confirm fixture addresses, universes and the required final state.
- Record a complete Art-Net pass.Capture the sequence from beginning to end, including optional audio when required.
- Replay it while the console is still available.Compare the captured output against the programmed source and correct any problem before handover.
- Select the start behaviour.Choose local manual playback, scheduling, GPIO, incoming LTC or autoplay.
- Disconnect the console and test again.Confirm that the Raspberry Pi reaches the Art-Net nodes and the operator can control the system locally.
- Restart and verify recovery.Test the expected state after boot and after an application restart.
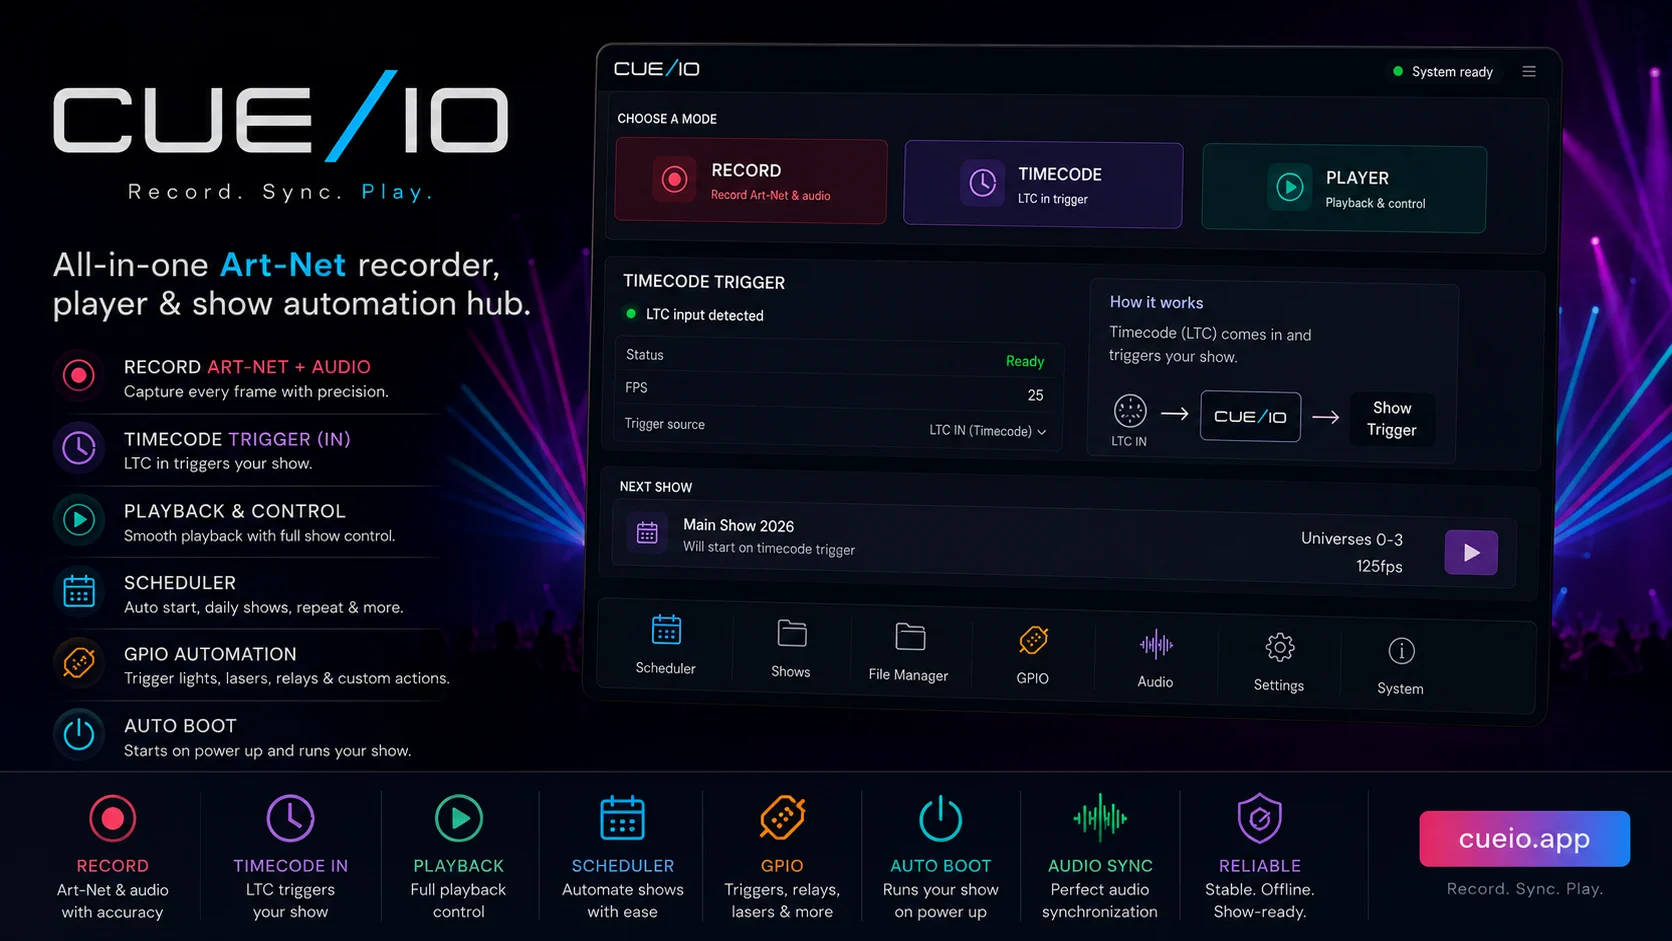
Choose how the standalone show should start
Operator control
Use Player mode when staff should select a show from a phone, tablet or computer on the local network.
Time and calendar
Use the scheduler for repeatable opening hours or daily events. Add an optional DS3231 RTC where offline time retention is required.
Physical interaction
Assign a show to a Raspberry Pi GPIO input for a suitable button, switch or sensor interface. Protect the GPIO electrically and observe Raspberry Pi voltage limits.
External timecode
Use incoming LTC when another system provides the time reference. CUE/IO receives LTC and triggers prepared shows; it does not generate LTC.
Power-on operation
Use autoplay for an intentional show sequence after boot. Test the entire sequence after a real restart before leaving the site.
Leave operators with a maintainable system
- Use a wired, documented Art-Net network.
- Name shows by project and approved version.
- Export the commissioned files and keep a copy away from the Raspberry Pi.
- Run the built-in benchmark on the exact deployed hardware and show configuration.
- Enable watchdog recovery where unattended operation requires it.
- Provide a safe shutdown and restart procedure.
- Record how to reach the local interface and what status should look like.
Internet is needed for initial licence activation. Recording, browser control and playback then operate on the local network.